How To - Adding a New Stock
To add a new stock:
-
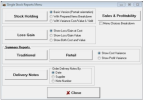
Select the button for New Stock from the main stocks menu and choose the required Division from the list displayed.
-
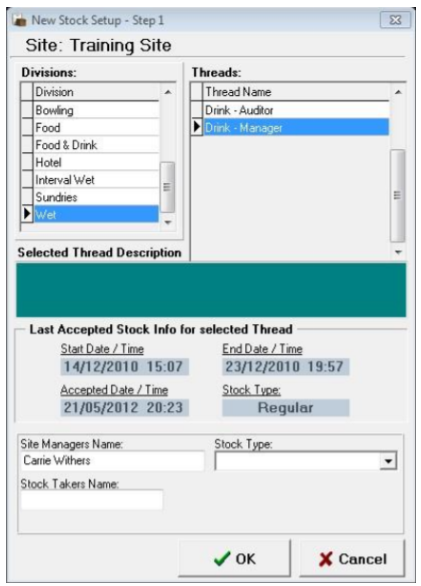
The available Threads will be displayed on the right – depending on the security granted for the job role logged in you may only see one stock thread.
-
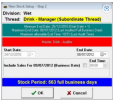
If not already populated enter Site Managers and Stock Takers Name and choose the stock type from the drop-down list.
-
Click the OK button to continue.

-
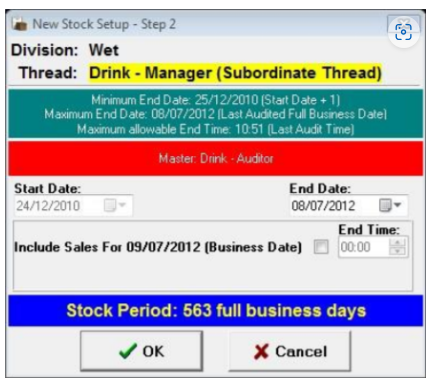
Select the End Date of the stock period from the calendar drop down. The current day may be selected but only up to the current audited time; if the current day is required tick the include sales for current date tick box.
-
Click the OK button to continue.
-
Click Yes or No to print the count sheets. If clicking yes, the count sheets will be displayed and allow them to be printed.
-
After all the count sheets have been printed, or the No option was selected, the next confirmation box to be displayed requires one of three options to be selected as shown below.
If you are going to now count your stocks, select the No option and this will then allow you to continue with this stock audit after completing the count.
If you already have the count figures, select Yes.
If you must go and count your stocks when coming back into the stock module select the button for current stocks and the stock that you have just started will be displayed, then select the option to Enter Audit.
-
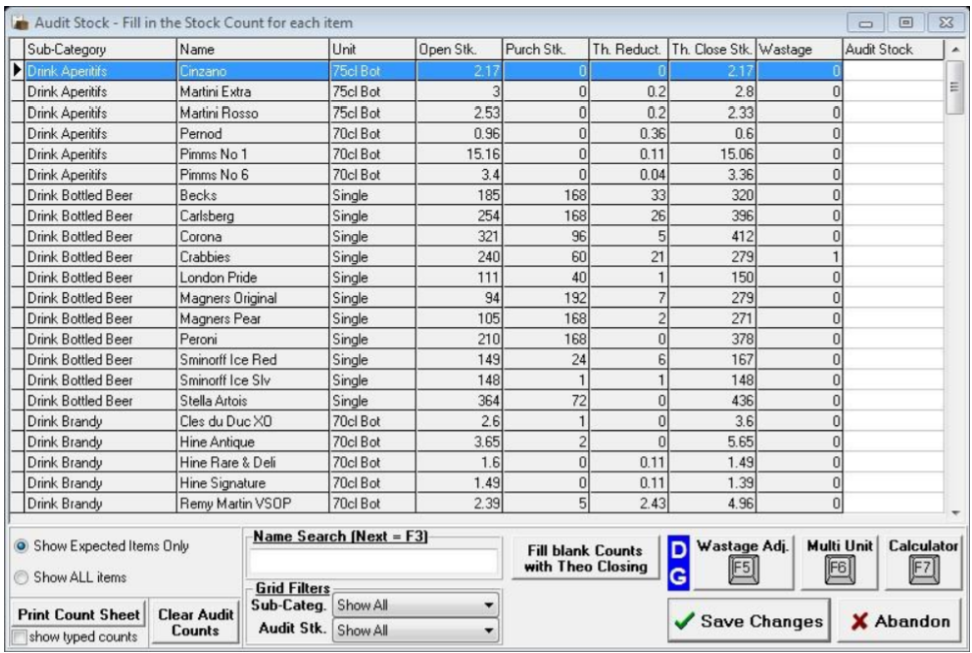
The Audit screen will now be displayed, allowing a count figure to be entered against each of the products in the Audit Stock column.
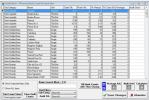
Open Stk - shows what the system opened its stock period with.
Purch Stk - shows any purchases during the period.
Th. Reuct - shows what the system has sold through the PoS.
Th. Close Stk - shows what the value the system should be closing at (this may be configured not to be displayed depending on your setup).
Wastage - Shows any wastage that has been recorded (see notes).
The order in which the count sheets are produced are the order in which Aztec requires the count to be entered.
Each product is displayed next to their subcategory along with their stock unit which is how the system wants you to enter the stock count figures, for example:
-
75cl bottle - Counted in tenths of a bottle 1.5 = 1 and ½ bottles
-
Gallons - Counted in the number of gallons.
-
Single / Item - Counted in single bottles.
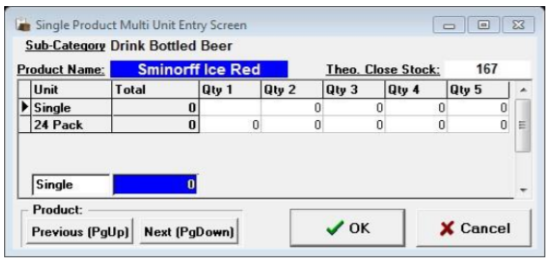
When the physical count is done you may count the number of packs in a cellar rather than how many single bottles of an item you have. If this is the case the system can be used to automatically work out this for you by pressing the Multi Unit button or pressing F6. In this screen you can enter either in the pack size the item comes in or in single units, there are multiple area quantity values that can be entered, and the stocks system will combine all unit values and show the total count for the product in the correct stock unit.

-
-
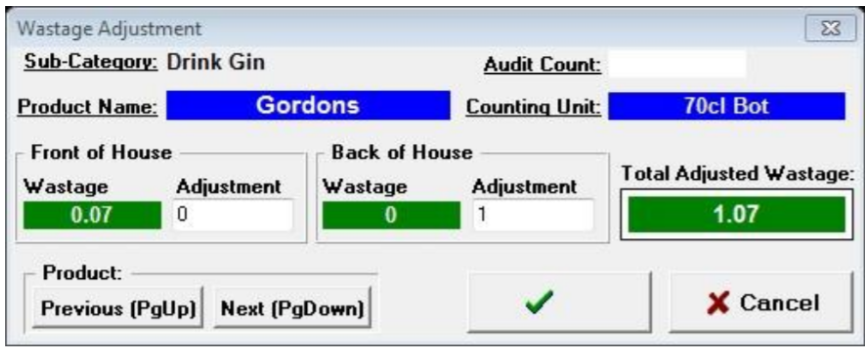
Waste is recorded in two ways - either Front of House or Back of House - depending on how you wish to record wastage on site. If there are any items that have been wasted through front of house i.e. through the PoS using the fault correction method these will be displayed in the wastage column.
-
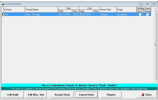
If you wish to waste and item through the back of house option for example if a bottle of gin was dropped highlight the product line and press the Wastage button or press F5.

If any Front of House wastage has come through this will be displayed and can be edited if required.
-
Enter any figures required against Back of House and press the OK button to complete.
-
When all counts have been entered click the Save Changes button
If there are products that do not have a count value the system will warn “Not all audit figures have been entered”. If this message appears, click the No button to return to the audit screen.
-
Select the grid filter for the No Audit Entry option and enter a 0 value against each product.
-
If there are products without a nominal price the Set Nominal Price screen will be displayed; the nominal price will be populated based on the following criteria.
-
Use the tariff price for this product as currently set on the PoS. This will only be available for Standard Line products where the ingredient is the same as the priced sold item.
-
Use the price as entered by the last auditor for this product (if any).
-
If none of the above rules provide a price the field will be left empty for the auditor to populate.
-
-
Click the Save & Use these Prices button to continue.
-
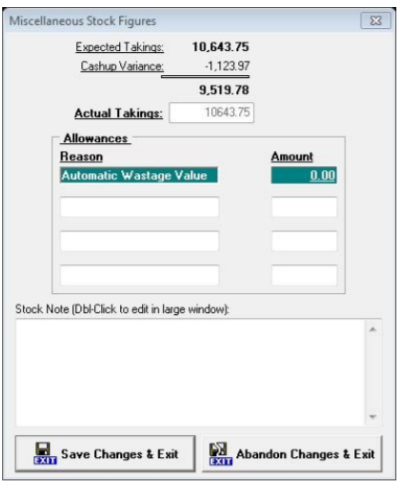
If configured the Miscellaneous Stock Figures screen will be displayed; this shows expected takings vs. cash up variance and then allows any allowances if given to be entered.
-
In the allowance box enter the reason and amount.
A note can also be entered into the Stock Note box for information about the stocks which will be displayed on the traditional stock report. -
Click Save Changes & Exit when complete.

-
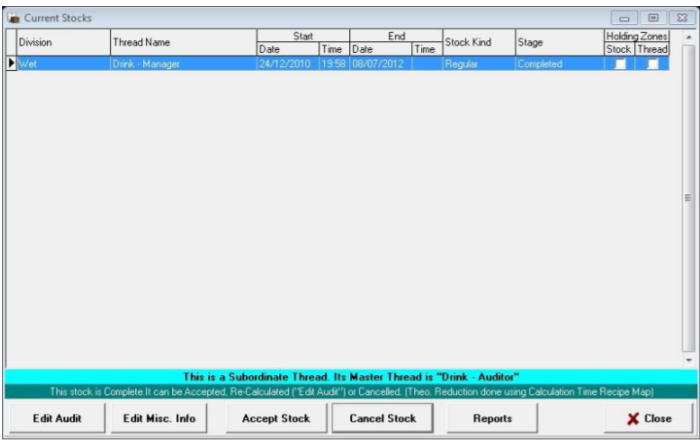
The current stocks screen will now be displayed; if the stock has been successfully completed the status will show as Completed, whereas if the stock figures have not yet all been entered the status will be displayed as Partial.
-
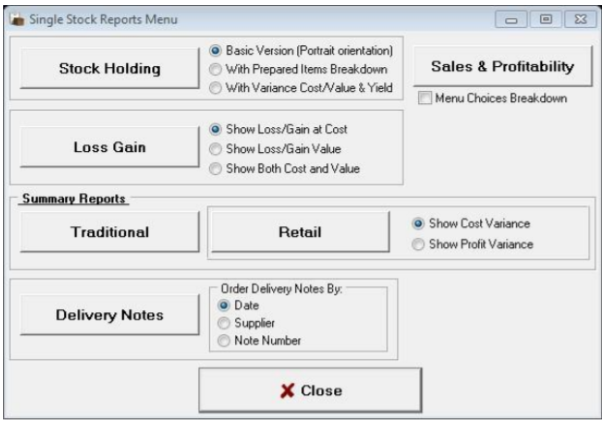
Click the Reports button which will display the main stock reports menu from which all the stock reports can be viewed. Some reports have different criteria that can be selected by choosing the radio button option before viewing the report.